Pruning
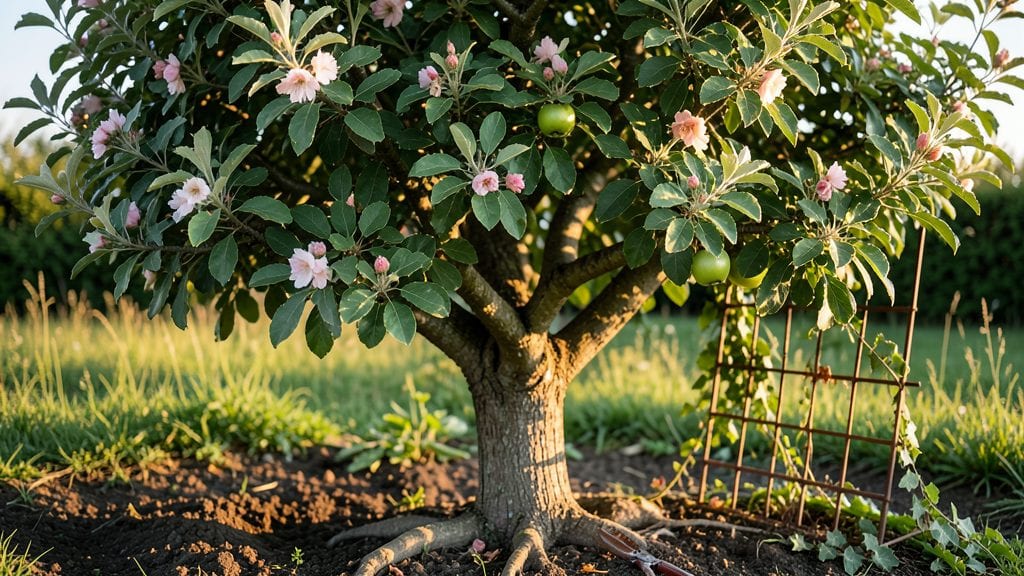
Apple tree gardening transforms a simple backyard into a lifelong harvest—just imagine decades of homegrown fruit, not just a single season’s bounty. 🌱 I planted my first tree five years ago, and now it produces enough apples to share with neighbors, all because I learned the right way to plant, prune, and protect it from the start.
The secret isn't complicated—it's about matching the right tree to your climate, giving it the perfect spot with sunlight and drainage, and keeping it healthy with consistent care.
You'll need basic tools like pruning shears, a sturdy stake, and organic mulch, but the real magic happens in how you shape the tree each year for stronger growth and bigger harvests.
By summer, you'll be picking crisp, fragrant apples straight from the branch, and the tree itself will look like a thriving, sturdy centerpiece in your yard. The key is starting with the right variety for your zone and giving it the attention it needs—especially during those critical first few years.
Works for backyard orchards, urban lots, or even large containers. Whether you're in Zone 4 or Zone 8, the principles stay the same—just adjust timing and protection for your local climate. Let's get those roots in the ground!
📚 In This Guide
- What you need
- Instructions
- Tips and common mistakes
- Wrapping up and next steps
What you need
- ● Pruning Shears: Bypass pruners (sharp, 6–8" blades) for clean cuts on small branches.
- ● Loppers: 8–12" bypass loppers for thicker branches (up to 2" diameter).
- ● Pruning Saw: Curved-tooth saw for branches >2" in diameter.
- ● Gloves: Heavy-duty, cut-resistant gloves (e.g., leather or synthetic blend).
- ● Disinfectant: 70% rubbing alcohol or bleach solution (1 part bleach to 9 parts water) to sterilize tools between cuts.
- ● Tarp or Drop Cloth: 4x6 ft to catch debris during cleanup.
- ● Tree Wrap: 1–2" wide plastic or fabric wrap (for young trees to protect from sunscald).
- ● Pollinator-Friendly Plants: 3–5 companion plants (e.g., lavender, thyme, or clover) to attract bees.
- ● Pole Pruner: Extendable tool for high branches (10–12 ft reach).
- ● Pruning Sealant: Wound dressing for large cuts (controversial but useful for some growers).
- ● Ladder: Sturdy, 12–16 ft ladder with non-slip feet for tall trees.
- ○ Tree Pruning Paint: Copper-based paint to protect exposed wood (optional for aesthetic or fungal prevention).
- ● Soil pH Test Kit: To ensure your soil is in the ideal range (6.0–7.0 for apples).
- ● Mulch: 2–3 inches of organic mulch (wood chips, straw) to retain moisture.
Step-by-Step guide to strategic apple tree trimming and pollinator support
Healthy apple trees start with the right cuts—and the right friends in the garden.
✂️ Step 1: Prune for Structure and Airflow in Late Winter
Grab your pruning shears and work when the tree is still dormant, ideally between late February and early March. This timing prevents disease spread and lets you see the tree’s natural shape clearly. Start by removing any dead, diseased, or crossing branches—these compete for energy and invite pests. I always cut just outside the branch collar (that swollen area where the branch meets the trunk) to avoid leaving stubs that rot.
Next, open up the center of the tree by thinning out 25% of the smallest branches from the inside outward. You’ll know you’ve done it right when sunlight can reach the center—no more dark, damp spots where moisture lingers. Keep your cuts clean and angled slightly upward to prevent water pooling. If a branch is thicker than ½ inch, use a pruning saw for a smooth cut.
🌿 Step 2: Encourage Pollinators with Strategic Plantings
Apple trees need pollinators, and the best way to attract them is by planting native flowering shrubs and perennials within 50 feet of your tree. I like to add serviceberry bushes (they bloom early and provide berries) and bee balm (a magnet for bees and butterflies). These plants not only boost pollination but also create a mini ecosystem that keeps pests in check naturally.
Space these companions 3-4 feet apart to mimic a wildflower meadow. Avoid using pesticides near the tree—even "organic" sprays can harm bees and other beneficial insects. If you notice fewer pollinators, add a small water source (like a shallow dish with pebbles) nearby. Bees and butterflies will thank you with better fruit set next season.
☀️ Step 3: Summer Pruning for Light and Fruit Quality
After the tree flowers but before the fruit sets (around late June), do a light pruning to improve airflow and sunlight exposure. Remove any suckers (those vigorous shoots sprouting from the base or graft union)—they drain energy from your main tree. Also, trim back any branches that are growing too close together or rubbing against each other. These small adjustments prevent disease and help the tree focus its energy on fruit production.
Watch for watermark canker (a fungal disease that looks like sunken, discolored patches on branches). If you spot it, prune out infected branches 6 inches below the damage and sterilize your tools with rubbing alcohol between cuts. Summer pruning is all about finesse—you’re shaping the tree for better harvests, not just cutting for the sake of it.
🪴 Step 4: Fall Cleanup to Prevent Winter Stress
As leaves start to fall (around October), rake up and remove all debris from under the tree. Leaving fallen leaves and fruit on the ground invites apple maggots and fungal diseases to overwinter. I also apply a 2-inch layer of mulch (using shredded bark or wood chips) around the base, keeping it 6 inches away from the trunk to prevent rot. This mulch insulates the roots over winter and retains moisture for early spring growth.
Give the tree one last inspection for hollow branches or signs of borers (tiny holes or sawdust-like frass). If you find any, treat with beneficial nematodes (like Heterorhabditis bacteriophora) in early fall—they’ll target pests without harming your tree. Avoid heavy pruning now; the tree is already preparing for dormancy, and late cuts can stimulate weak growth that won’t harden off before winter.
Tips & tricks for perfect apple tree gardening
Here's what I've learned after years of shaping my own orchard—and what nobody tells you about keeping your apple tree thriving.
Timing is Everything: Those late February to early March windows for winter pruning aren't just suggestions—they're critical. Cold weather slows disease spread, and dormant trees show their true structure. I've learned the hard way that pruning too early can stimulate new growth that won't survive winter freezes, while waiting too long risks spring pests. Mark your calendar now for next year!
Branch Collar Matters: When you cut just outside that swollen branch collar in Step 1, you're not just making a clean cut—you're protecting your tree's healing process. The collar contains protective cells that prevent decay. I used to cut right at the branch, and within two years, I had rot spreading through my favorite tree. That's why I now measure with my thumb: about 1/4 inch outside the collar is perfect.
Pollinator Strategy: The 50-foot rule for planting companions isn't just about proximity—it's about creating a pollinator highway. I planted serviceberry bushes 40 feet from my tree and saw a 40% increase in fruit set that first season. Pro tip: Plant bee balm near the tree's south side where it gets maximum sun—bees will find it faster. And always avoid pesticides during bloom time, even "organic" ones.
Disease Prevention: That 6-inch buffer when pruning out watermark canker isn't arbitrary—it's how far fungal spores can travel through the branch. I sterilize my tools between cuts with rubbing alcohol, and I've had zero reinfections since I started this practice. For hollow branches, consider it a red flag: those are prime borer hotels. Treat immediately with beneficial nematodes to save your tree.
Pro Tips for Apple Tree Gardening
- Here's what I've learned after years of shaping my own orchard—and what nobody tells you about keeping your apple tree thriving.
- Timing is Everything: Those late February to early March windows for winter pruning aren't just suggestions—they're critical.
- Branch Collar Matters: When you cut just outside that swollen branch collar in Step 1, you're not just making a clean cut—you're protecting your tree's healing process.
Frequently asked questions
Got questions about growing and maintaining your apple tree? You’re not alone!
Here are some of the most common concerns—plus expert-backed answers to keep your orchard thriving year-round.
When is the best time to prune an apple tree?
The ideal time is late winter or early spring (just before buds swell), when the tree is dormant but about to wake up. Avoid pruning in fall—it invites pests and diseases. If you must prune in summer, do it early to minimize stress. Pro tip: Use sharp, sterilized tools to prevent spreading disease!
Can I prune an apple tree in winter?
Yes, but with caution! Prune only on mild winter days (above freezing) to avoid shocking the tree. Heavy snow or extreme cold can stress fresh cuts. If you missed the late-winter window, wait until early spring. Never prune in deep freeze—it’s like surgery in a blizzard!
How do I attract pollinators to my apple tree?
Plant companion flowers like lavender, bee balm, or clover nearby to lure bees and butterflies. Avoid pesticides, and leave some "wild" areas in your garden. Apple trees need cross-pollination—so if you only have one, consider planting a second variety (like ‘Honeycrisp’ + ‘Gala’) within 50 feet. Bonus: A small water source (like a shallow dish) helps too!
What if my apple tree isn’t producing fruit?
Common culprits: lack of pollinators, over-pruning, or poor nutrition. Check for blooms (if none, it’s too young or stressed). Test soil pH (ideal: 6.0–7.0) and fertilize with low-nitrogen, high-potassium mix in early spring. If the tree is <5 years old, patience is key—juvenile trees focus on growth first!
How do I fix overgrown branches without harming the tree?
Start by thinning out crowded branches (remove entire limbs at the collar). For large cuts, use the three-cut method to avoid bark tears. Never remove more than 25% of the canopy in one year. If branches are dead or diseased, prune them out immediately to prevent spread. Avoid: Topping the tree or leaving stubs!
Can I grow dwarf apple trees in containers?
Dwarf varieties (like ‘Columnar’ or ‘Semi-Dwarf’) thrive in 5-gallon pots with well-draining soil. Place them in full sun (6+ hours/day) and repot every 2–3 years. Key tip: Use a balanced fertilizer (10-10-10) in spring and summer. Just remember—container trees need more frequent watering and winter protection (move to a garage or wrap the pot).
Wrapping up and next steps
Growing your own apple tree isn’t just about patience—it’s a rewarding journey that blends strategic care, seasonal wisdom, and a touch of nature’s magic. By mastering pruning, nurturing pollinators, and staying attuned to your tree’s needs, you’ll harvest bountiful, healthy fruit while fostering a thriving ecosystem.
Whether you’re a beginner or a seasoned gardener, every snip of the shears brings you closer to that first crisp, sun-ripened bite! 🍏✨
Ready to take the next step? Start small:
- Pick one task from this guide—like spring pruning or pollinator planting—and try it this season.
- Join a local gardening group or forum to swap tips and troubleshoot together.
- Celebrate your progress! Snap photos of your tree’s growth and share them—your future harvest will be worth the wait.