Tools
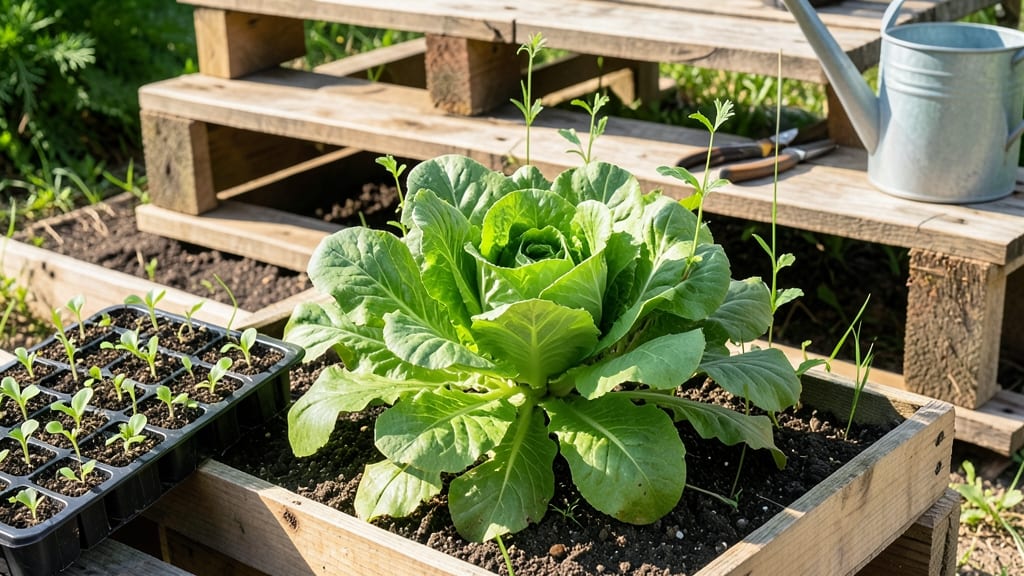
A pallet gardening table turns scrap wood into a space-saving green machine—ideal for growing fresh herbs and veggies without sacrificing your patio or balcony.
If you're dreaming of a thriving General Pallet Garden 🌱 but lack outdoor space, this DIY project could be your game-changer. With just a weekend and a few tools, you’ll create a vertical growing system that maximizes yield in minimal square footage.
Beyond saving space, a pallet table is budget-friendly, eco-conscious, and customizable—whether you want a tiered herb station or a full veggie tower. Plus, it’s perfect for USDA Zone 6a spring planting (April-May after frost).
Below, I’ll walk you through the easiest build, plant placement tricks, and how to keep your table thriving all season long.
How to build a sturdy pallet gardening table for maximum yield
A pallet gardening table is one of the most rewarding DIY projects for space-conscious gardeners. By repurposing wooden pallets, you create a vertical growing system that maximizes yield in minimal square footage.
The key lies in proper drainage, soil retention, and strategic plant spacing—all while ensuring your structure lasts through multiple growing seasons.
Whether you're growing herbs, leafy greens, or compact vegetables, this guide will walk you through every step to build a table that’s both functional and durable.
Before you begin, gather your materials and tools. You’ll need 2-3 wooden pallets (heat-treated and stamped "HT" for safety), 2x4 lumber for support, landscape fabric, potting soil, and optional wood screws or decking screws for extra stability.
Safety is critical—always wear gloves and a mask when handling pallets, as they may contain splinters or chemical residues. Once you’re ready, let’s turn those pallets into a thriving garden oasis.
⚠️ PRO TIP: If your pallets aren’t heat-treated, sand them thoroughly and seal with a non-toxic wood sealant to prevent leaching into your soil.
Step-by-Step Assembly Guide
-
Step 1: Prepare Your Pallets
Inspect your pallets for splinters, nails, or chemical stains. Sand rough edges and remove any protruding nails. If using untreated pallets, seal them with a food-safe sealant and let dry for 24 hours.
-
Step 2: Build the Base Frame
Lay two pallets side by side and secure them with 2x4 lumber on the bottom and top edges. Use 3-inch deck screws to create a sturdy rectangular base. Add a third pallet vertically on one end to create a back support for soil retention.
-
Step 3: Line with Landscape Fabric
Staple landscape fabric to the inside of the pallet slats to prevent soil from falling through the gaps. This also helps retain moisture and keeps roots contained.
-
Step 4: Add Drainage Layers
Place a 1-inch layer of gravel or perlite at the bottom of each pallet section to improve drainage. This prevents waterlogging and root rot, especially for moisture-sensitive plants like basil or peppers.
-
Step 5: Fill with Soil
Add a high-quality potting mix blended with compost (60% soil, 40% compost). Leave 1-2 inches of space at the top for mulch and watering. Avoid garden soil, as it compacts and drains poorly in containers.
-
Step 6: Plan Your Plant Layout
Arrange plants based on their maturity size and sunlight needs. Place taller plants like tomatoes or pepper plants in the back and shorter herbs like basil or cilantro in the front. Leave 6-12 inches between plants for airflow.
-
Step 7: Secure the Table
For stability, add corner braces or additional 2x4 supports to the base. If placing outdoors, elevate the table on cinder blocks or feet to protect it from ground moisture and pests.
-
Step 8: Water and Mulch
Give your table a deep watering to settle the soil, then top with 2 inches of mulch to retain moisture and suppress weeds. Use straw or shredded leaves for a natural finish.
Now that your pallet gardening table is assembled, it’s time to think about plant placement for optimal growth. Group plants with similar water needs together to simplify care. For example, place thyme and rosemary near peppers, as they all thrive in well-draining soil and full sun.
Avoid overcrowding—root competition can stunt growth, especially for shallow-rooted herbs like parsley or dill.
One of the biggest mistakes beginners make is ignoring drainage. Without proper airflow, roots suffocate, leading to fungal diseases like root rot. To prevent this, elevate your table slightly off the ground and ensure the gravel layer is at least 1 inch thick.
If you notice water pooling after rain, add more perlite or vermiculite to the soil mix to improve aeration.
For long-term success, consider adding a drip irrigation system to automate watering. This is especially helpful if you’re growing heat-loving plants like eggplants or okras, which need consistent moisture.
A simple DIY setup with soaker hoses or a timer-controlled drip line can save you time and keep your plants thriving.
Once your garden is established, monitor for pests like aphids or spider mites, which love the tender new growth of herbs and vegetables. A strong spray of neem oil or introducing beneficial insects like ladybugs can keep populations in check without harsh chemicals.
Regularly check the undersides of leaves and the soil surface for early signs of trouble.
With proper care, your pallet gardening table can produce bountiful harvests for years. In the next section, we’ll explore the best plants to grow in this space-saving setup, including compact varieties that thrive vertically and companion planting tips to boost yields even further.
Best plants for pallet gardening tables: space-saving varieties
A pallet gardening table is perfect for growing compact vegetables and herbs that thrive in vertical spaces. Choose varieties with shallow roots and fast growth to maximize your harvest. The right plants will fit neatly between slats while delivering big flavors and yields.
Prioritize sunlight needs and water efficiency—most pallet gardens receive 6+ hours of sun but dry out quickly. Dwarf or bush varieties are ideal, as they won’t outgrow their containers. Below, I’ve curated the best space-saving plants for your pallet setup, including care tips and companion pairings.
summary-table
For cherry tomatoes, choose bush varieties like 'Tiny Tim' or 'Patio Princess' to avoid sprawling vines. Train them with soft ties to support stems as they grow. Bush beans are another fantastic pick—the