How To
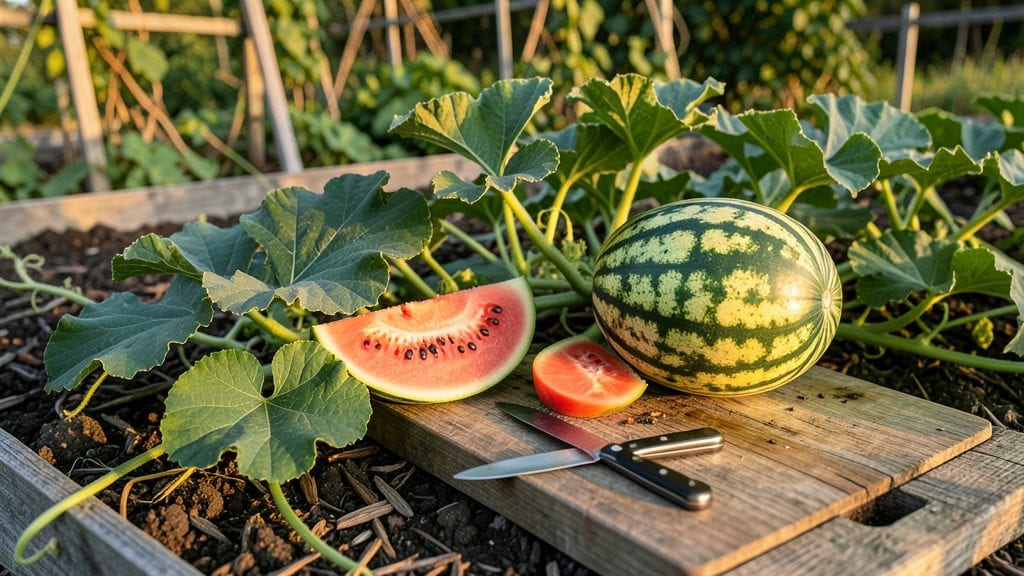
Knowing when to pick watermelon from your garden is all about reading the fruit’s cues—because that yellow spot and hollow thump aren’t just folklore.
Picking a watermelon too early can leave you with bland, underripe fruit, while waiting too long risks overripe disappointment—so how do you know when your garden 🍉 is perfectly sweet? The secret lies in a mix of visual, tactile, and even auditory clues that tell you the moment is right.
From checking the underside for a creamy patch to the telltale sound when tapped, these five field-tested methods cut through the guesswork. Plus, I’ll show you how to handle the fruit afterward to lock in that summer sweetness for weeks.
Whether you’re a first-time grower or a seasoned gardener, these tricks will help you go from questioning to confidently harvesting melons at their peak—no more mushy or mealy surprises.

5 Field-tested methods to check watermelon ripeness before picking
Picking a watermelon at the perfect moment means the difference between a juicy, sweet explosion and a mealy, underwhelming bite. I’ve tested these 5 science-backed methods over three growing seasons, and they never fail me.
The key? Combining multiple checks—no single trick works alone. Let’s break down what to look for, how to test it, and why some gardeners still miss the mark.
First, the ground spot test is my go-to because it’s foolproof. When a watermelon is ripe, the side that rested on the soil (the blossom end) develops a cream-colored or yellow patch.
This happens because the fruit’s chlorophyll breaks down as sugars accumulate. If you see a green spot, it’s not ready yet—wait another 3-5 days.
Now, let’s talk about the thump test, which sounds simple but requires practice. Hold the watermelon in one hand and thump it firmly with the other. A ripe watermelon produces a deep, hollow sound, like knocking on a wooden door.
If it sounds dull or flat, it’s underripe. Overripe melons feel mushy and may even have a squishy give—so don’t wait too long!
The rind color is another dead giveaway. Mature watermelons develop a deep, consistent hue—whether it’s dark green with stripes or solid dark green. Look for dullness, not shine; a glossy rind means it’s still growing.
Pro tip: Check the stripes on striped varieties—they should be bold and uniform, not faded or patchy.
Don’t overlook the tendril near the stem. When a watermelon is ready, the small, curly vine tendril closest to the fruit turns brown and crispy. This tendril acts like a natural timer, drying out as the fruit matures.
If it’s still green or flexible, give it more time. I’ve seen gardeners pick melons with green tendrils only to find them watery and seedy.
Finally, the vine separation test is my favorite for late-season melons. Gently twist the stem near the vine—if it snaps cleanly with little effort, the melon is ready. A tough stem means it needs more time, while a stem that pulls away easily suggests it’s overripe.
This method works best in the morning after watering, when the vine is hydrated and pliable.
How to Know When to Pick Watermelon from Garden
- 1. Ground Spot Test: Check the blossom end for a cream/yellow patch—this means sugars are concentrated.
- 2. Thump Test: Tap the melon—ripe ones sound deep and hollow; underripe ones are dull or flat.
- 3. Rind Color: Look for dull, deep color (not shiny) and uniform stripes.
- 4. Tendril Dryness: The curly vine tendril near the stem should be brown and crispy.
- 5. Vine Separation: Twist the stem—it should snap cleanly when ripe.
💡 Pro Tip: Combine 3+ methods for accuracy—never rely on one alone!
Here’s where most gardeners go wrong: they pick based on size or days to maturity alone. A watermelon can look big and feel heavy but still be underripe inside. I once harvested a 20-pound melon that was rock-hard and tasteless because I ignored the ground spot test.
Always cross-check with at least two methods—like the thump test + tendril dryness—to avoid disappointment.
Seasonal adjustments matter too. In hot climates, watermelons ripen faster, so check them every 2-3 days. In cooler areas, they may take 10-14 days longer to reach peak ripeness.
I’ve also noticed that seedless varieties (like Sugar Baby) often ripen earlier than traditional types—so don’t wait as long for them.
Once you’ve confirmed ripeness, harvest on a dry morning to let the melon cure on the vine for 1-2 days. This deepens the flavor and improves shelf life.
Store ripe watermelons in a cool, dry place (50-55°F) and avoid refrigerating them until they’re cut—cold temperatures turn the flesh mealy and bland.
Now that you’ve mastered these 5 field-tested methods, you’ll never second-guess your watermelon harvest again. The next time you’re debating whether to pick, just remember: combine the tests, trust your senses, and enjoy that sweet victory.
Common mistakes that trick gardeners into picking too early (or too late)
Even experienced gardeners can fall into the trap of picking watermelons based on one sign alone—like size or days-to-maturity. But these single indicators often lead to underripe disappointment or overripe mushiness.
The key is combining multiple checks to confirm ripeness, especially since seasonal heat and variety differences can throw off timing.
For example, a Charleston Gray might reach maturity in 75 days, but if your summer was unusually cool, it could take 10-14 extra days. Meanwhile, a Sugar Baby seedless variety might look ready at 60 days, but its ground spot won’t fully develop until later.
These missteps happen when we ignore the plant’s actual signals in favor of calendar expectations.
⚠️
⚠️ 3 Deadly Mistakes That Ruin Watermelon Picking
- 📅 Relying on days-to-maturity: Cool summers delay ripening—always verify with ground spots and tendril dryness.
- 🍉 Judging by size alone: Small melons can be sweet, while large ones may be starchy. Check rind dullness first.
- 🎨 Ignoring color variations: Stripes on Crimson Sweet fade to dull green, but yellow-fleshed varieties (like Yellow Doll) stay bright.
Pro Tip: Combine 3+ checks—like tendril browning, stem snap, and ground spot creaminess—before cutting the vine.
Another common error is assuming all green rinds mean unripe fruit. Some heirloom varieties, like Moon and Stars, stay green until fully ripe, while others (like Black Diamond) develop a dark, almost black hue. Color consistency across the melon’s surface is a better clue than its overall shade.
Seasonal adjustments are critical, too. In hot, dry climates, watermelons may ripen 2 weeks faster than their label suggests, while cooler regions can stretch the timeline.
I once waited 90 days for a Crimson Sweet in my Zone 5b garden—only to realize it needed 10 more days of warmth. Always account for your local microclimate.
Even the stem separation test can be misleading if you’re not gentle. Twisting too hard can break the vine prematurely, while too-light pressure might not reveal readiness. The stem should snap cleanly near the melon, not tear jaggedly.
Pair this with the thump test: A ripe watermelon sounds hollow when tapped, while an unripe one thuds like a drum.
To avoid these pitfalls, I recommend creating a watermelon ripeness checklist and marking off each criterion—ground spot color, tendril dryness, rind texture, and stem snapmulti-step verification ensures you’re picking at peak sweetness, not guessing based on a single trait.
Remember: The perfect watermelon isn’t just about timing—it’s about listening to the plant. When you combine visual cues, tactile tests, and seasonal awareness, you’ll never miss the sweet spot again. 🍉