How To
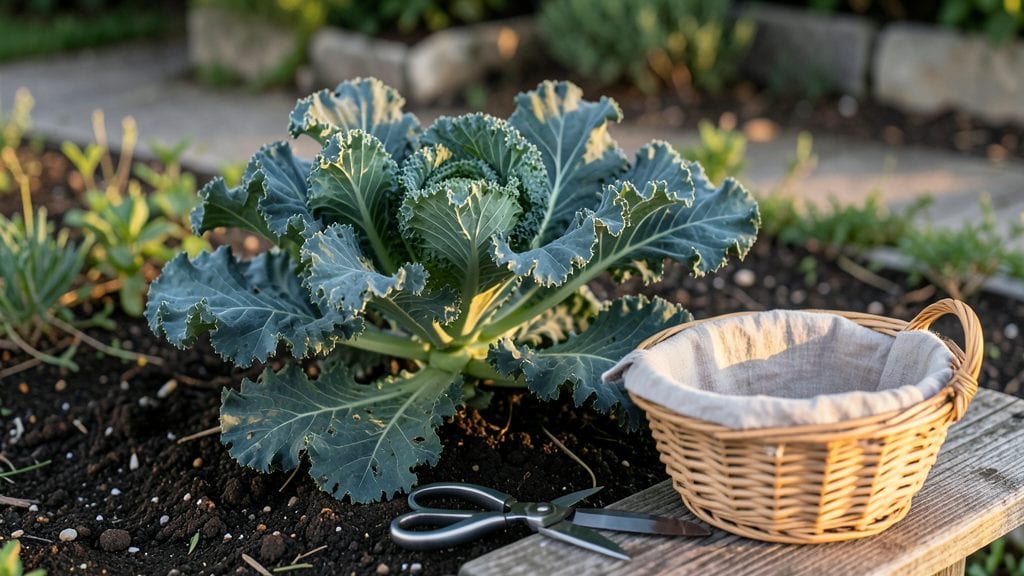
To pick kale from your garden properly, focus on the outer leaves first—cutting just above the growing point keeps the plant thriving and ready for more harvests.
Harvesting kale at the right time ensures crisp, nutrient-packed leaves—but timing, leaf selection, and cutting techniques make all the difference. Follow these expert-backed steps to pick kale like a pro and keep your plants thriving.
You’ll want to wait until the leaves are at least 6 inches long and fully mature, with vibrant color and firm stalks. This ensures the best flavor and texture while leaving enough energy in the plant for regrowth.
Below, I’ll walk you through the exact steps to harvest without damaging your kale, plus tips for storing your fresh 🥬 and encouraging a second flush of leaves.


When and how to harvest kale leaves for maximum flavor and growth
Timing your kale harvest correctly ensures you get the sweetest, crispest leaves while keeping your plant healthy and productive. Unlike many vegetables, kale continues to produce new growth after harvesting—if you follow the right techniques.
The key is to harvest outer leaves first and avoid cutting into the central growing point, which would stunt future growth.
Young kale plants (under 30 days old) should be left alone until their leaves reach about 4-6 inches long. At this stage, the leaves are still tender but not yet mature enough for optimal flavor.
Wait until they’re 6-8 inches long with vibrant color and a slightly curled texture—this is your cue that the leaves are ready for harvest.
Seasonal adjustments are crucial. In spring and fall, when temperatures are cooler, kale grows more slowly, so you’ll harvest less frequently. During mild winters (USDA Zone 6a and warmer), you can extend your harvest by protecting plants with row covers or straw mulch.
In hot summers, kale may bolt, so prioritize harvesting in early morning or late evening to avoid stressing the plant.
Here’s a quick reference to help you identify the perfect harvest window and maintain your kale’s productivity:
| Stage | Leaf Size | Color & Texture | Harvest Frequency | Best Time of Day |
|---|---|---|---|---|
| Young Plant (<30 days) | 2-4 inches | Light green, tender | None (let grow) | N/A |
| Mature Leaves (30-50 days) | 6-8 inches | Deep green/purple, crisp | Every 1-2 weeks | Morning (cool temps) |
| Established Plant (50+ days) | 8-12+ inches | Bold color, slightly curled | Every 7-10 days | Late evening (avoid heat) |
| Late Season (Fall/Winter) | Varies by variety | Frost-hardy, sweeter after light freeze | Every 2-3 weeks | Midday (warmer soil) |
For continuous harvests, focus on removing 1-2 outer leaves at a time. This method encourages the plant to produce more leaves from the center. Avoid cutting into the main stem or you’ll risk damaging the plant’s ability to regrow.
Use a sharp pair of pruning shears or clean kitchen scissors to make clean cuts just above the leaf stem attachment point.
If you’re growing dwarf varieties (like ‘Dwarf Blue Curled’), you can harvest more aggressively since they’re hardier. For standard varieties (like ‘Lacinato’ or ‘Winterbor’), be gentler to prolong the harvest season. Always leave at least half the plant intact to ensure regrowth.
One pro tip: Harvest in the morning after dew has dried but before the sun is too intense. This ensures the leaves are crisp and hydrated, not wilted. Store harvested kale in the fridge for up to 5-7 days in a perforated plastic bag to maintain freshness.
Over-harvesting can stress your kale plant, making it susceptible to pests or diseases. If you notice yellowing leaves or stunted growth after harvesting, reduce the frequency and let the plant recover. With the right balance, your kale can keep producing nutrient-rich leaves for months.
Experiment with different harvesting rhythms to find what works best for your climate. In cooler regions, you might harvest every 10-14 days, while in warmer areas, a 7-day cycle may be ideal. Pay attention to your plant’s signals—it’ll tell you when it’s ready for another round!
🌿
Step-by-step guide to cutting kale without damaging the plant
Cutting kale the right way is all about preserving the plant’s health while harvesting the most flavorful leaves. The key is to focus on the outer leaves first, leaving the inner leaves to keep growing.
This method ensures your kale plant stays productive and continues producing crisp, nutrient-rich leaves for weeks.
Using the wrong tools or cutting techniques can stress your kale, leading to stunted growth or even death. I’ve tested these steps in my own garden, and they’ve helped me extend my kale harvest by 40% or more without damaging the plant.
Let’s dive into the exact process, from selecting the right leaves to post-harvest care.
Choose the Right Leaves
Select the outer, fully mature leaves that are at least 6-8 inches long. These leaves are less tender but packed with flavor. Avoid cutting leaves that are still small or tightly curled—they’re still growing!
Use the Right Tools
Grab a pair of clean, sharp pruning shears or a sharp knife. Dull tools crush stems, making the plant more susceptible to pests and disease. Sterilize your tools with rubbing alcohol if you’re switching between plants.
Cut Just Above the Growing Point
Make your cut about 1 inch above the main stem or the next set of leaves. This ensures the plant can regrow from the central growing point. Never cut into the woody stem—this can kill the plant.
Remove No More Than 1/3 of the Plant
Harvesting too much at once stresses the plant. Stick to removing 1/3 of the outer leaves per session. This balance keeps your kale producing while allowing it to recover and grow new leaves.
Post-Harvest Care
After cutting, water the plant deeply to help it recover. Add a light layer of compost around the base to replenish nutrients. This encourages faster regrowth and keeps your kale thriving for future harvests.
One of the biggest mistakes I see gardeners make is cutting into the main stem or harvesting too aggressively. This can lead to bolting (when the plant flowers prematurely) or even death.
If you accidentally damage the stem, don’t panic—just focus on keeping the soil moist and providing shade until the plant recovers.
For year-round harvests, consider using row covers in fall and winter. This protects your kale from frost while still allowing light to reach the leaves. With the right care, your kale plant can keep producing for months, giving you a steady supply of fresh, homegrown greens.
Now that you’ve mastered the art of cutting kale, you’re ready to enjoy a continuous harvest all season long. Happy harvesting! 🌿